Images
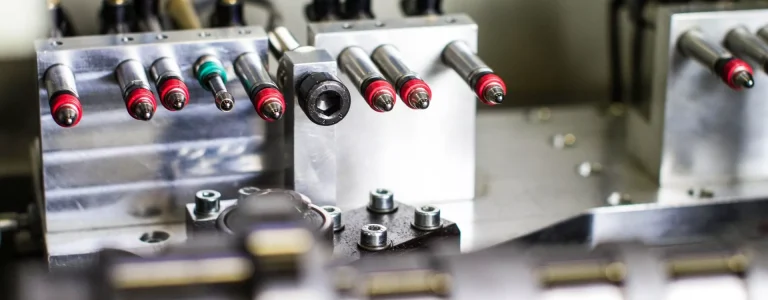
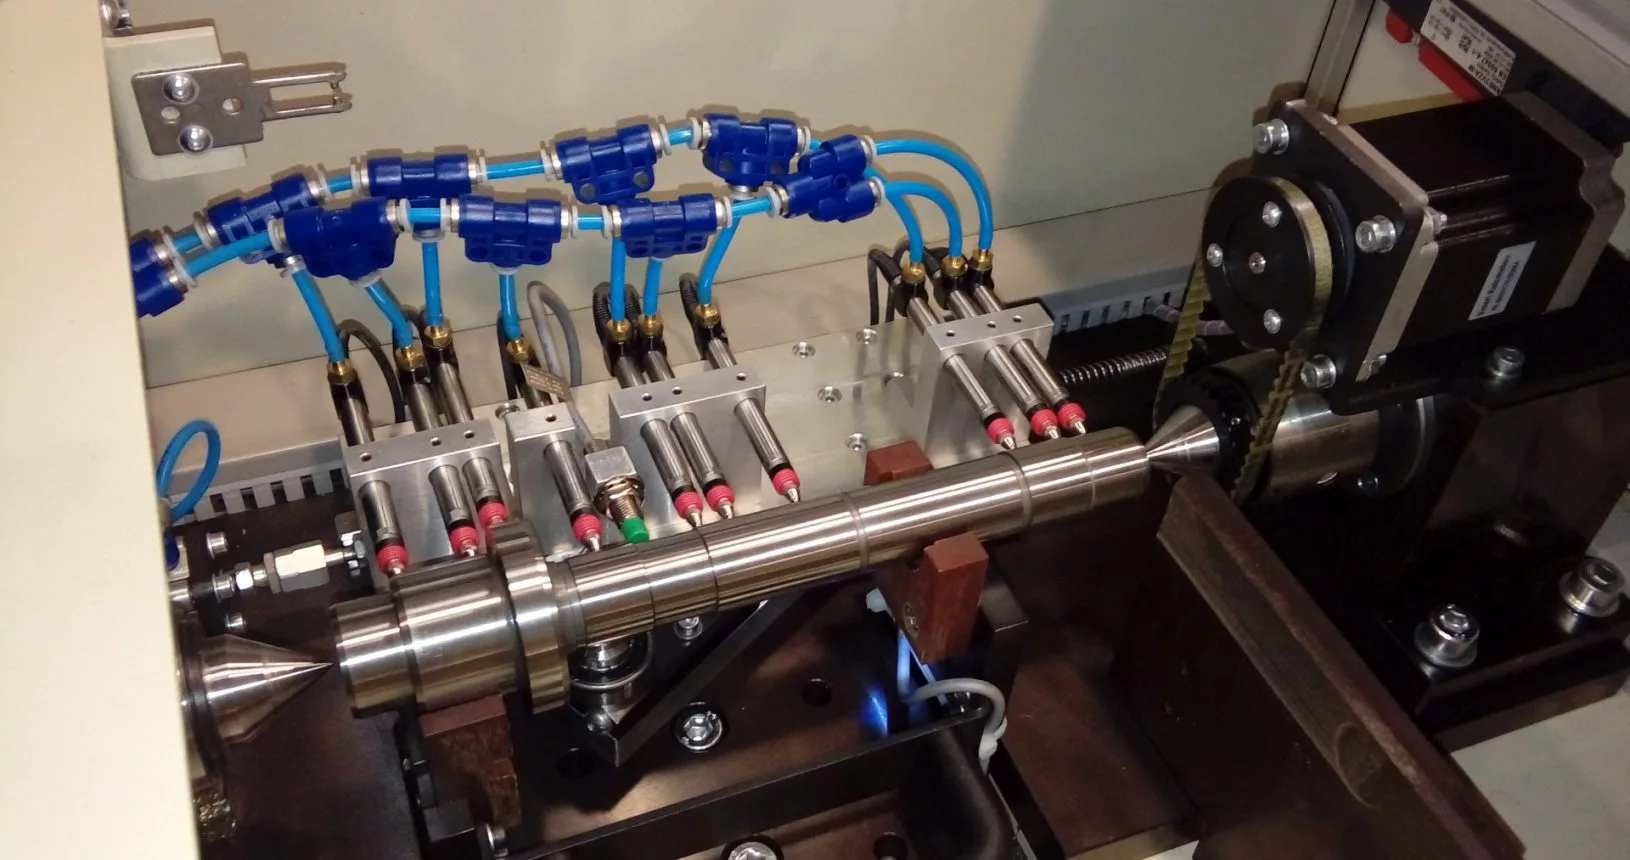
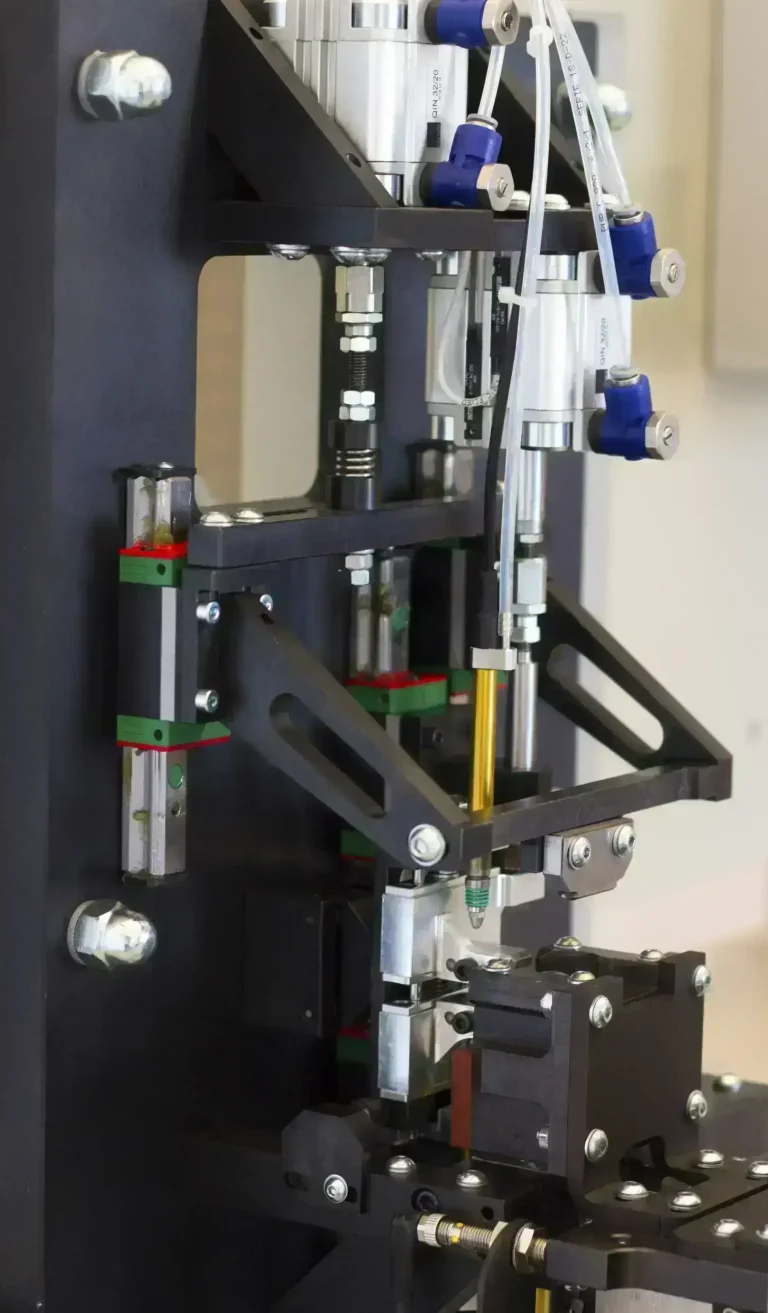
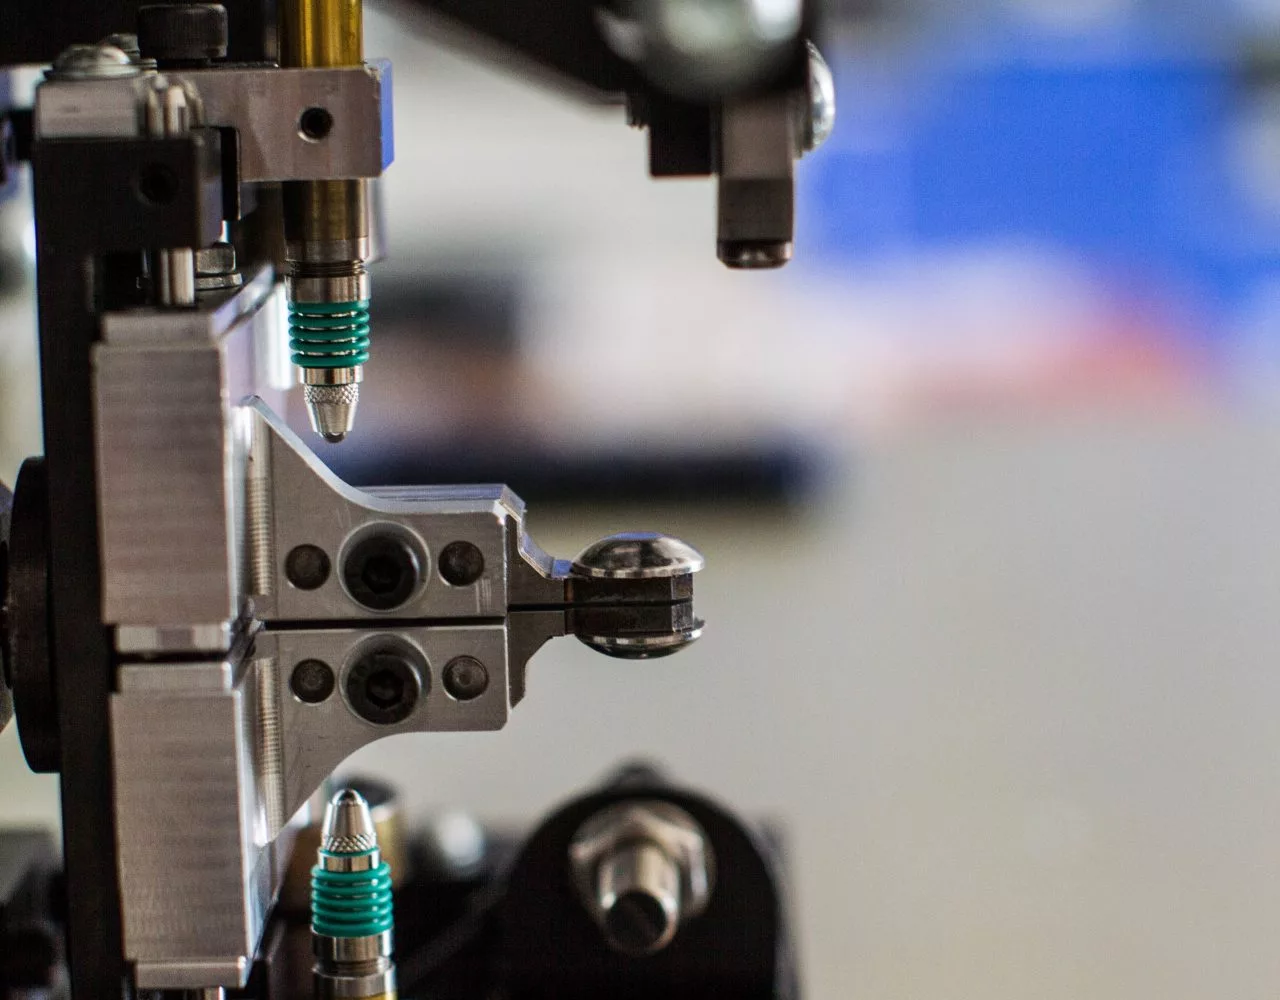
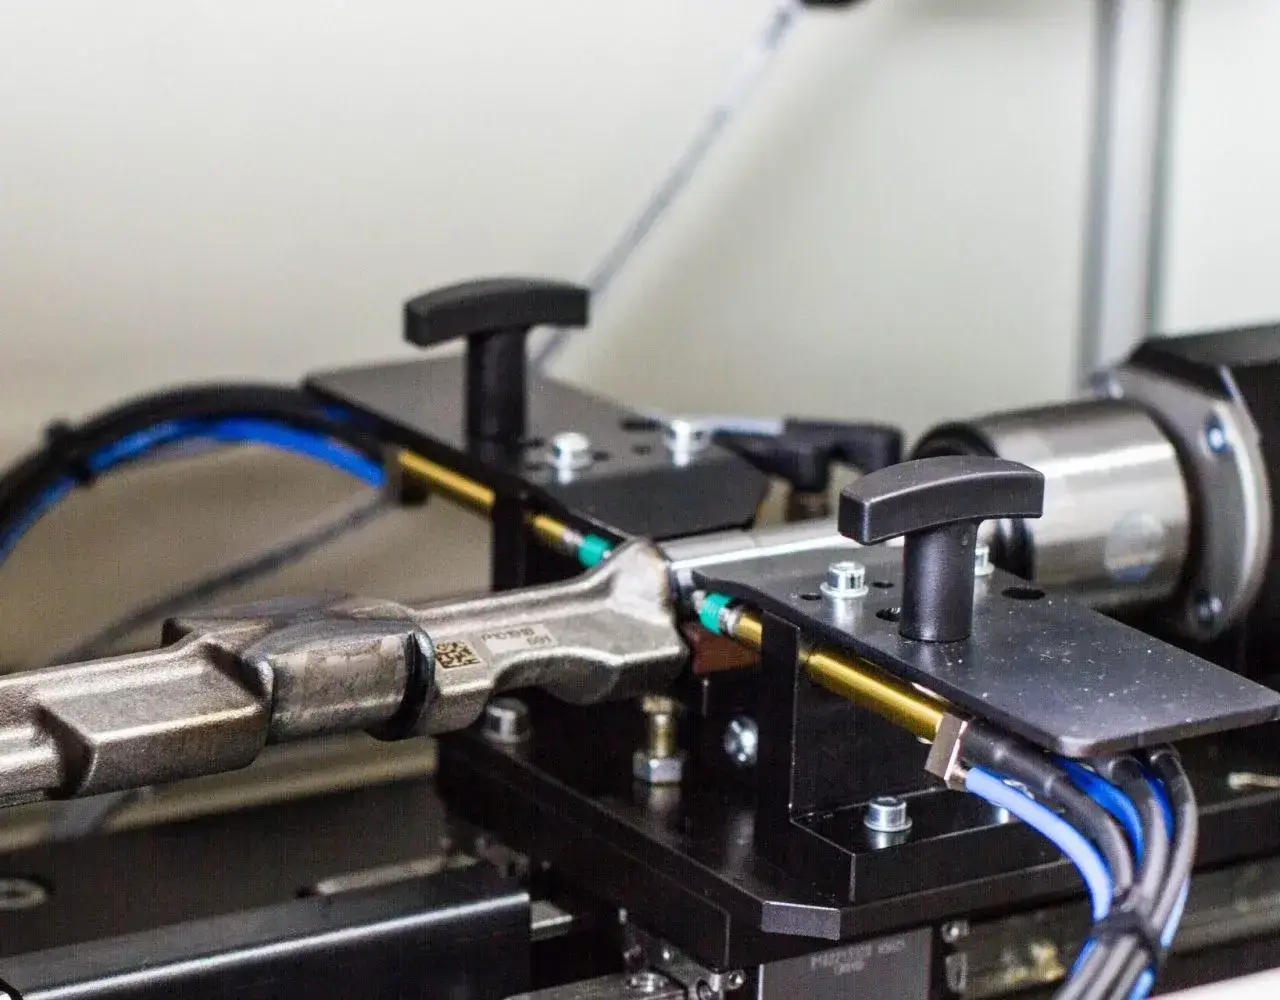
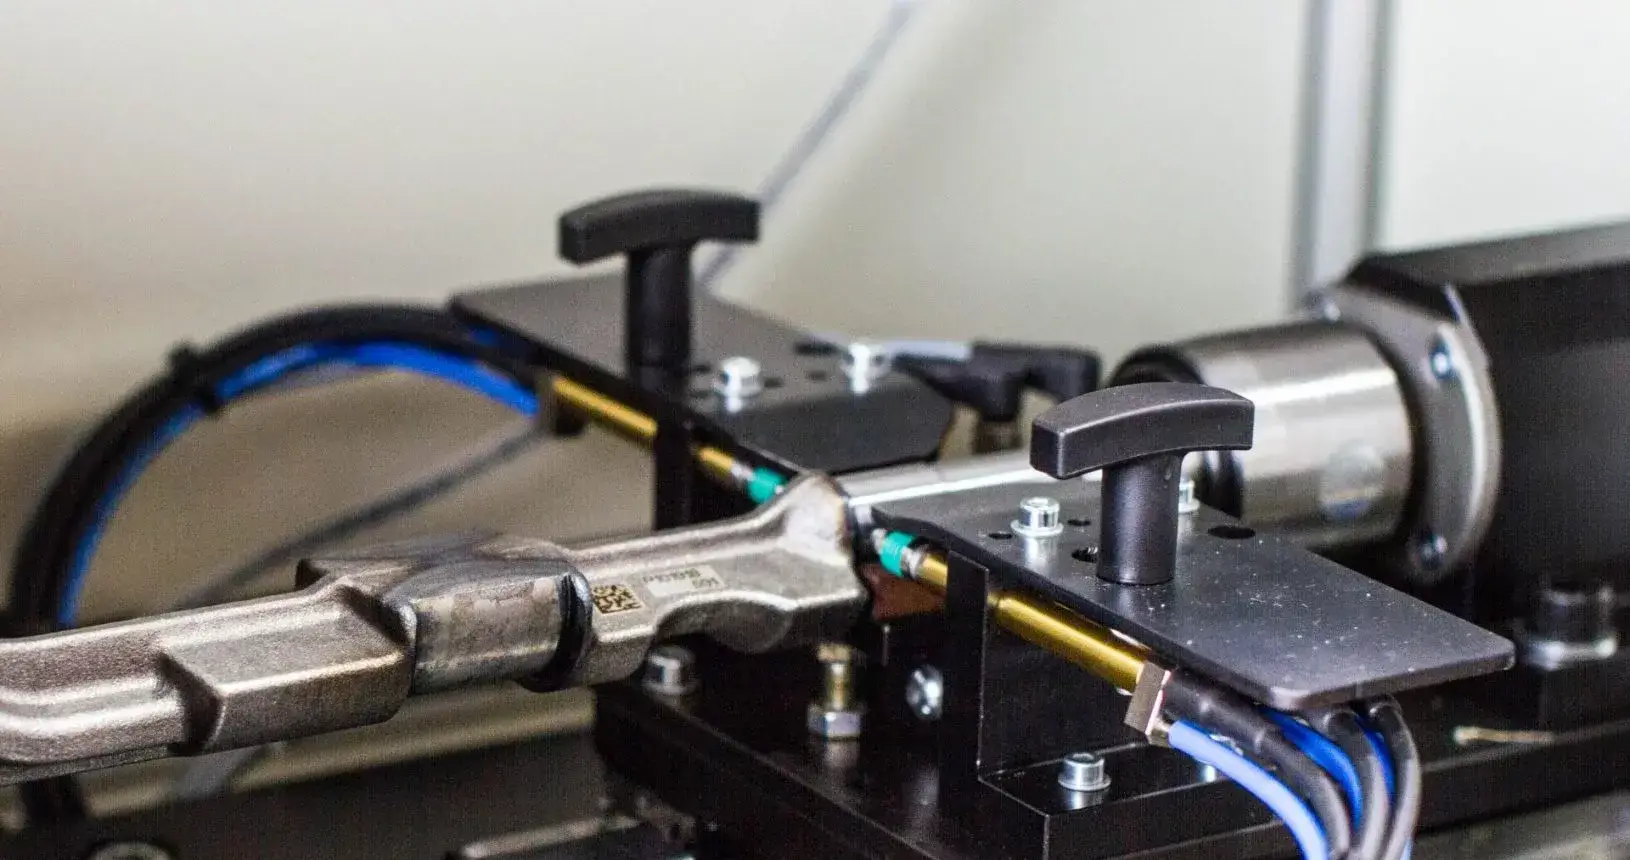
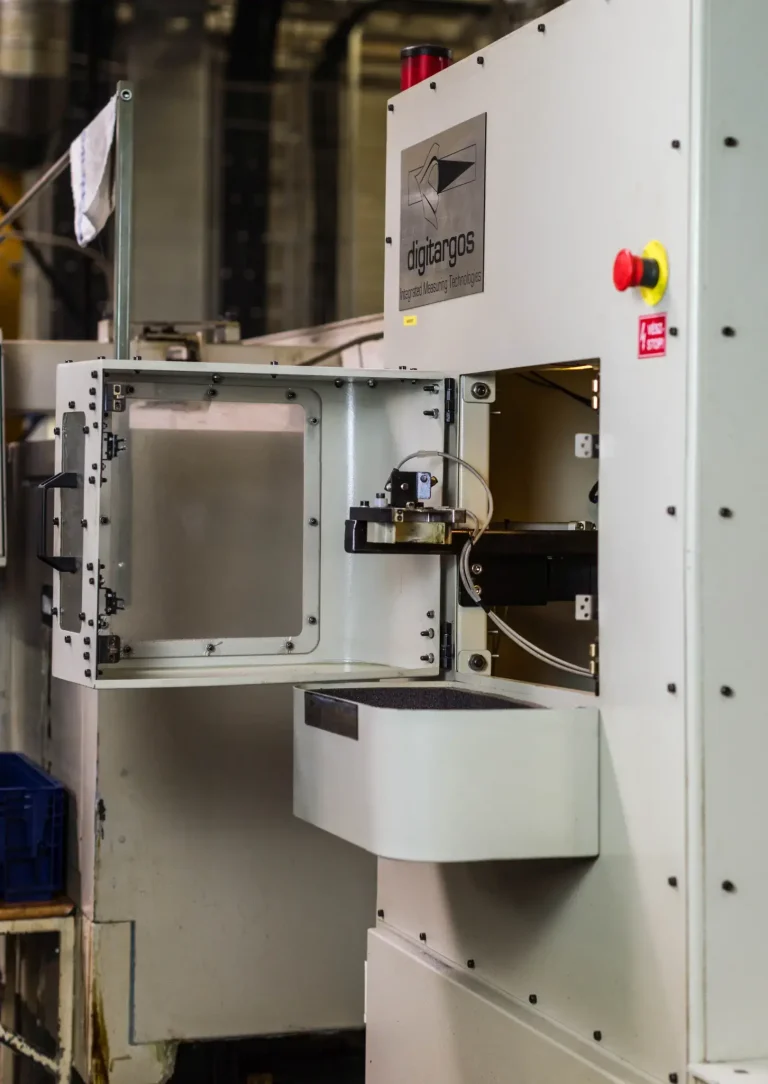
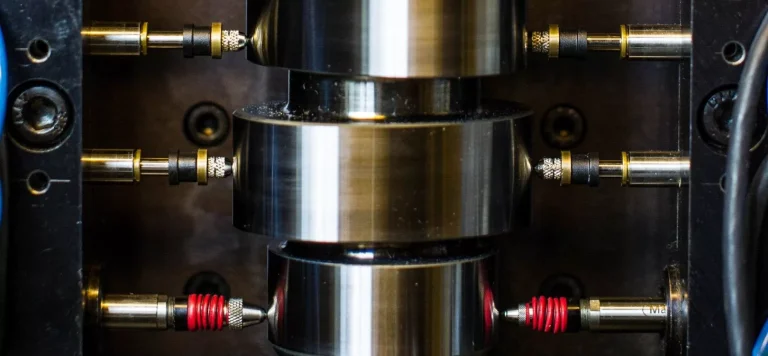
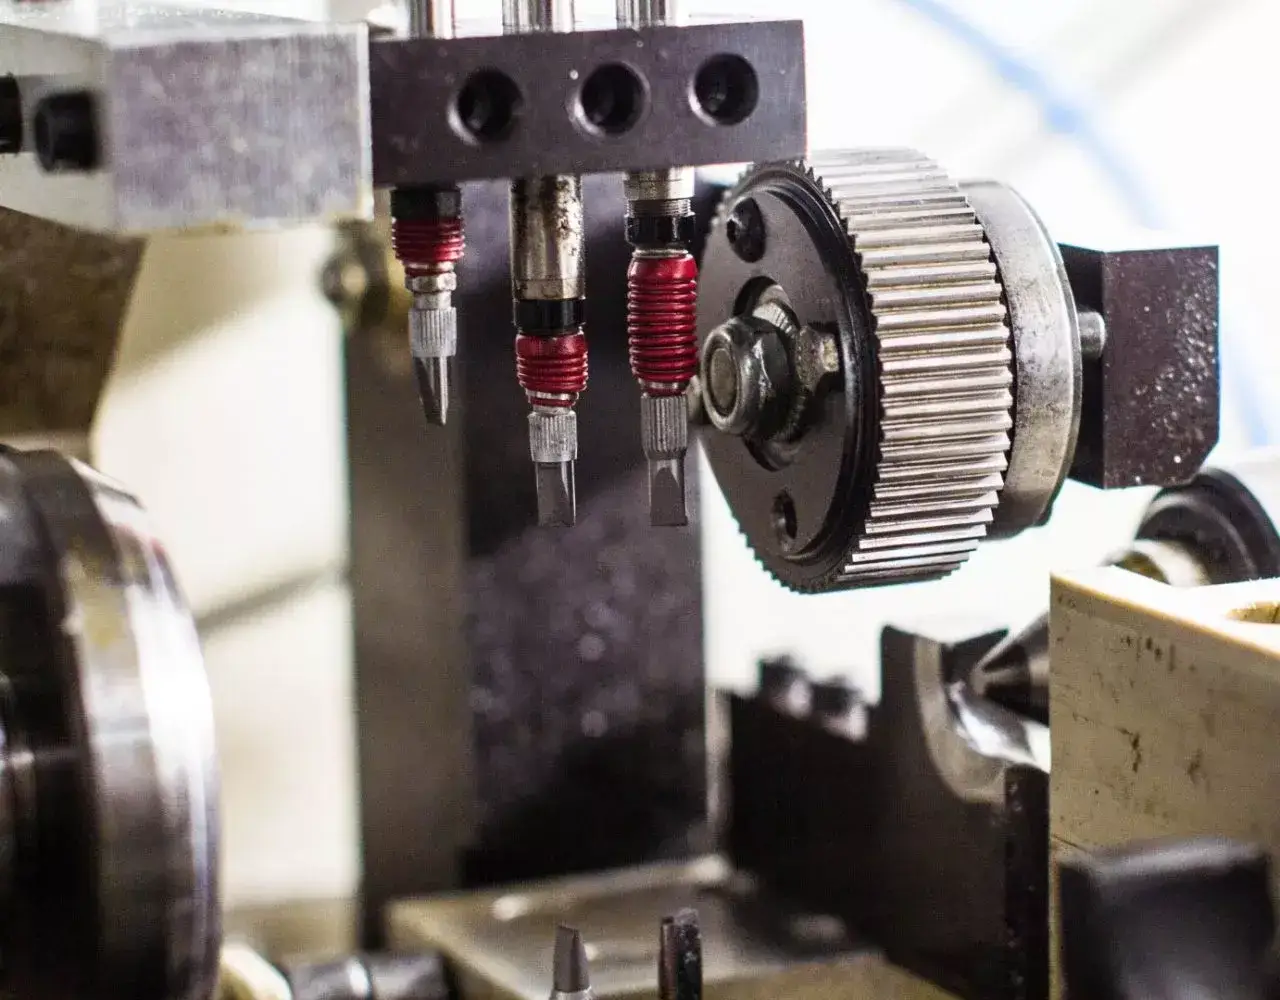
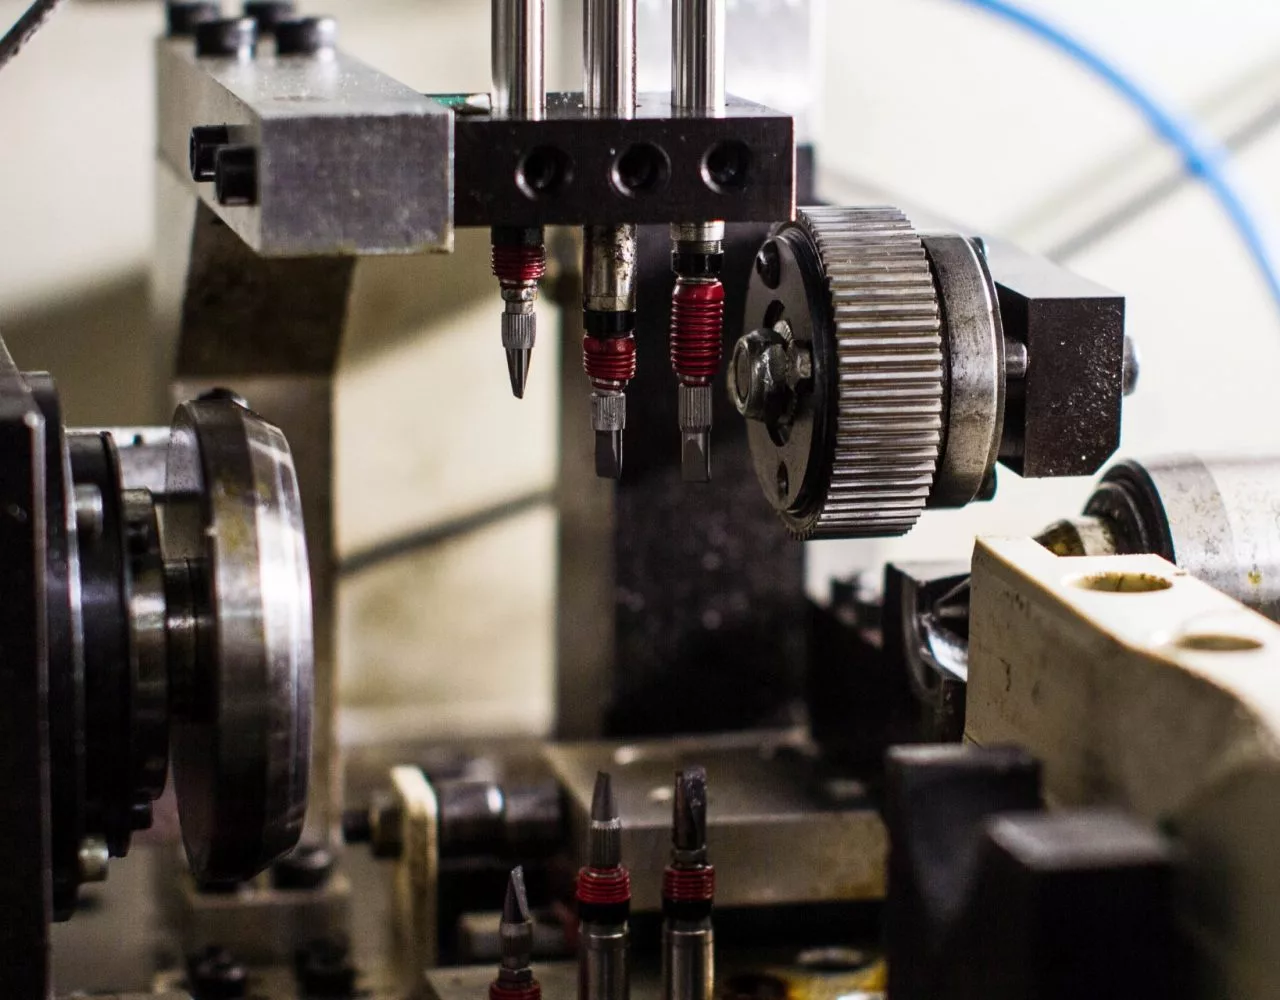
Each entry below is accompanied by actual photos of the inspection.
Reverse Idler Shaft
100% in-line inspection
Measured features:
- Diameter
- Runout
- Tolerance: < 10 μm
- Cycle time: approx. 40 sec
Piston Pocket Diameter
Measured features:
- Groove width
- Piston length
- Tolerance: within a few hundredths of a millimetre
- Cycle time: < 10 sec
Balance Shaft
100% in-line inspection
Measured features:
- Diameter
- Balancing mass runout
- Tolerance: within a few hundredths of a millimetre
- Cycle time: < 20 sec
Camshaft Profile
100% in-line inspection
Measured features:
- Bearing surface diameter
- Cam contour profile
- Cam angular position
- Straightness and parallelism
- Tolerance: within 0.05 mm
- Two subtypes can be measured without setup change
- Three height levels measured
- Cycle time: < 150 sec
Link Shaft
100% in-line inspection
Measured features:
- Diameter
- Runout relative to bearing surfaces
- Cycle time: < 26 sec


